Managing distributors and territories
The distributor is the core account of the channel. Assigning them to territories keeps coverage clear and commissions attributable.
When to use
Use this when you onboard a new distributor, change its tier or credit limit, or redraw sales territories and reassign reps.
Before you start
- Permissions:
distribution:readto view,distribution:writeto create and edit,distribution:deleteto delete or deactivate. Territories usedistribution:readanddistribution:write. - Toggles: Distribution has no feature toggles of its own. Access comes from the Distribution add-on.
- Have the distributor’s tier, payment terms, and credit limit ready, and know which price list it should use.
Steps
Register distributors
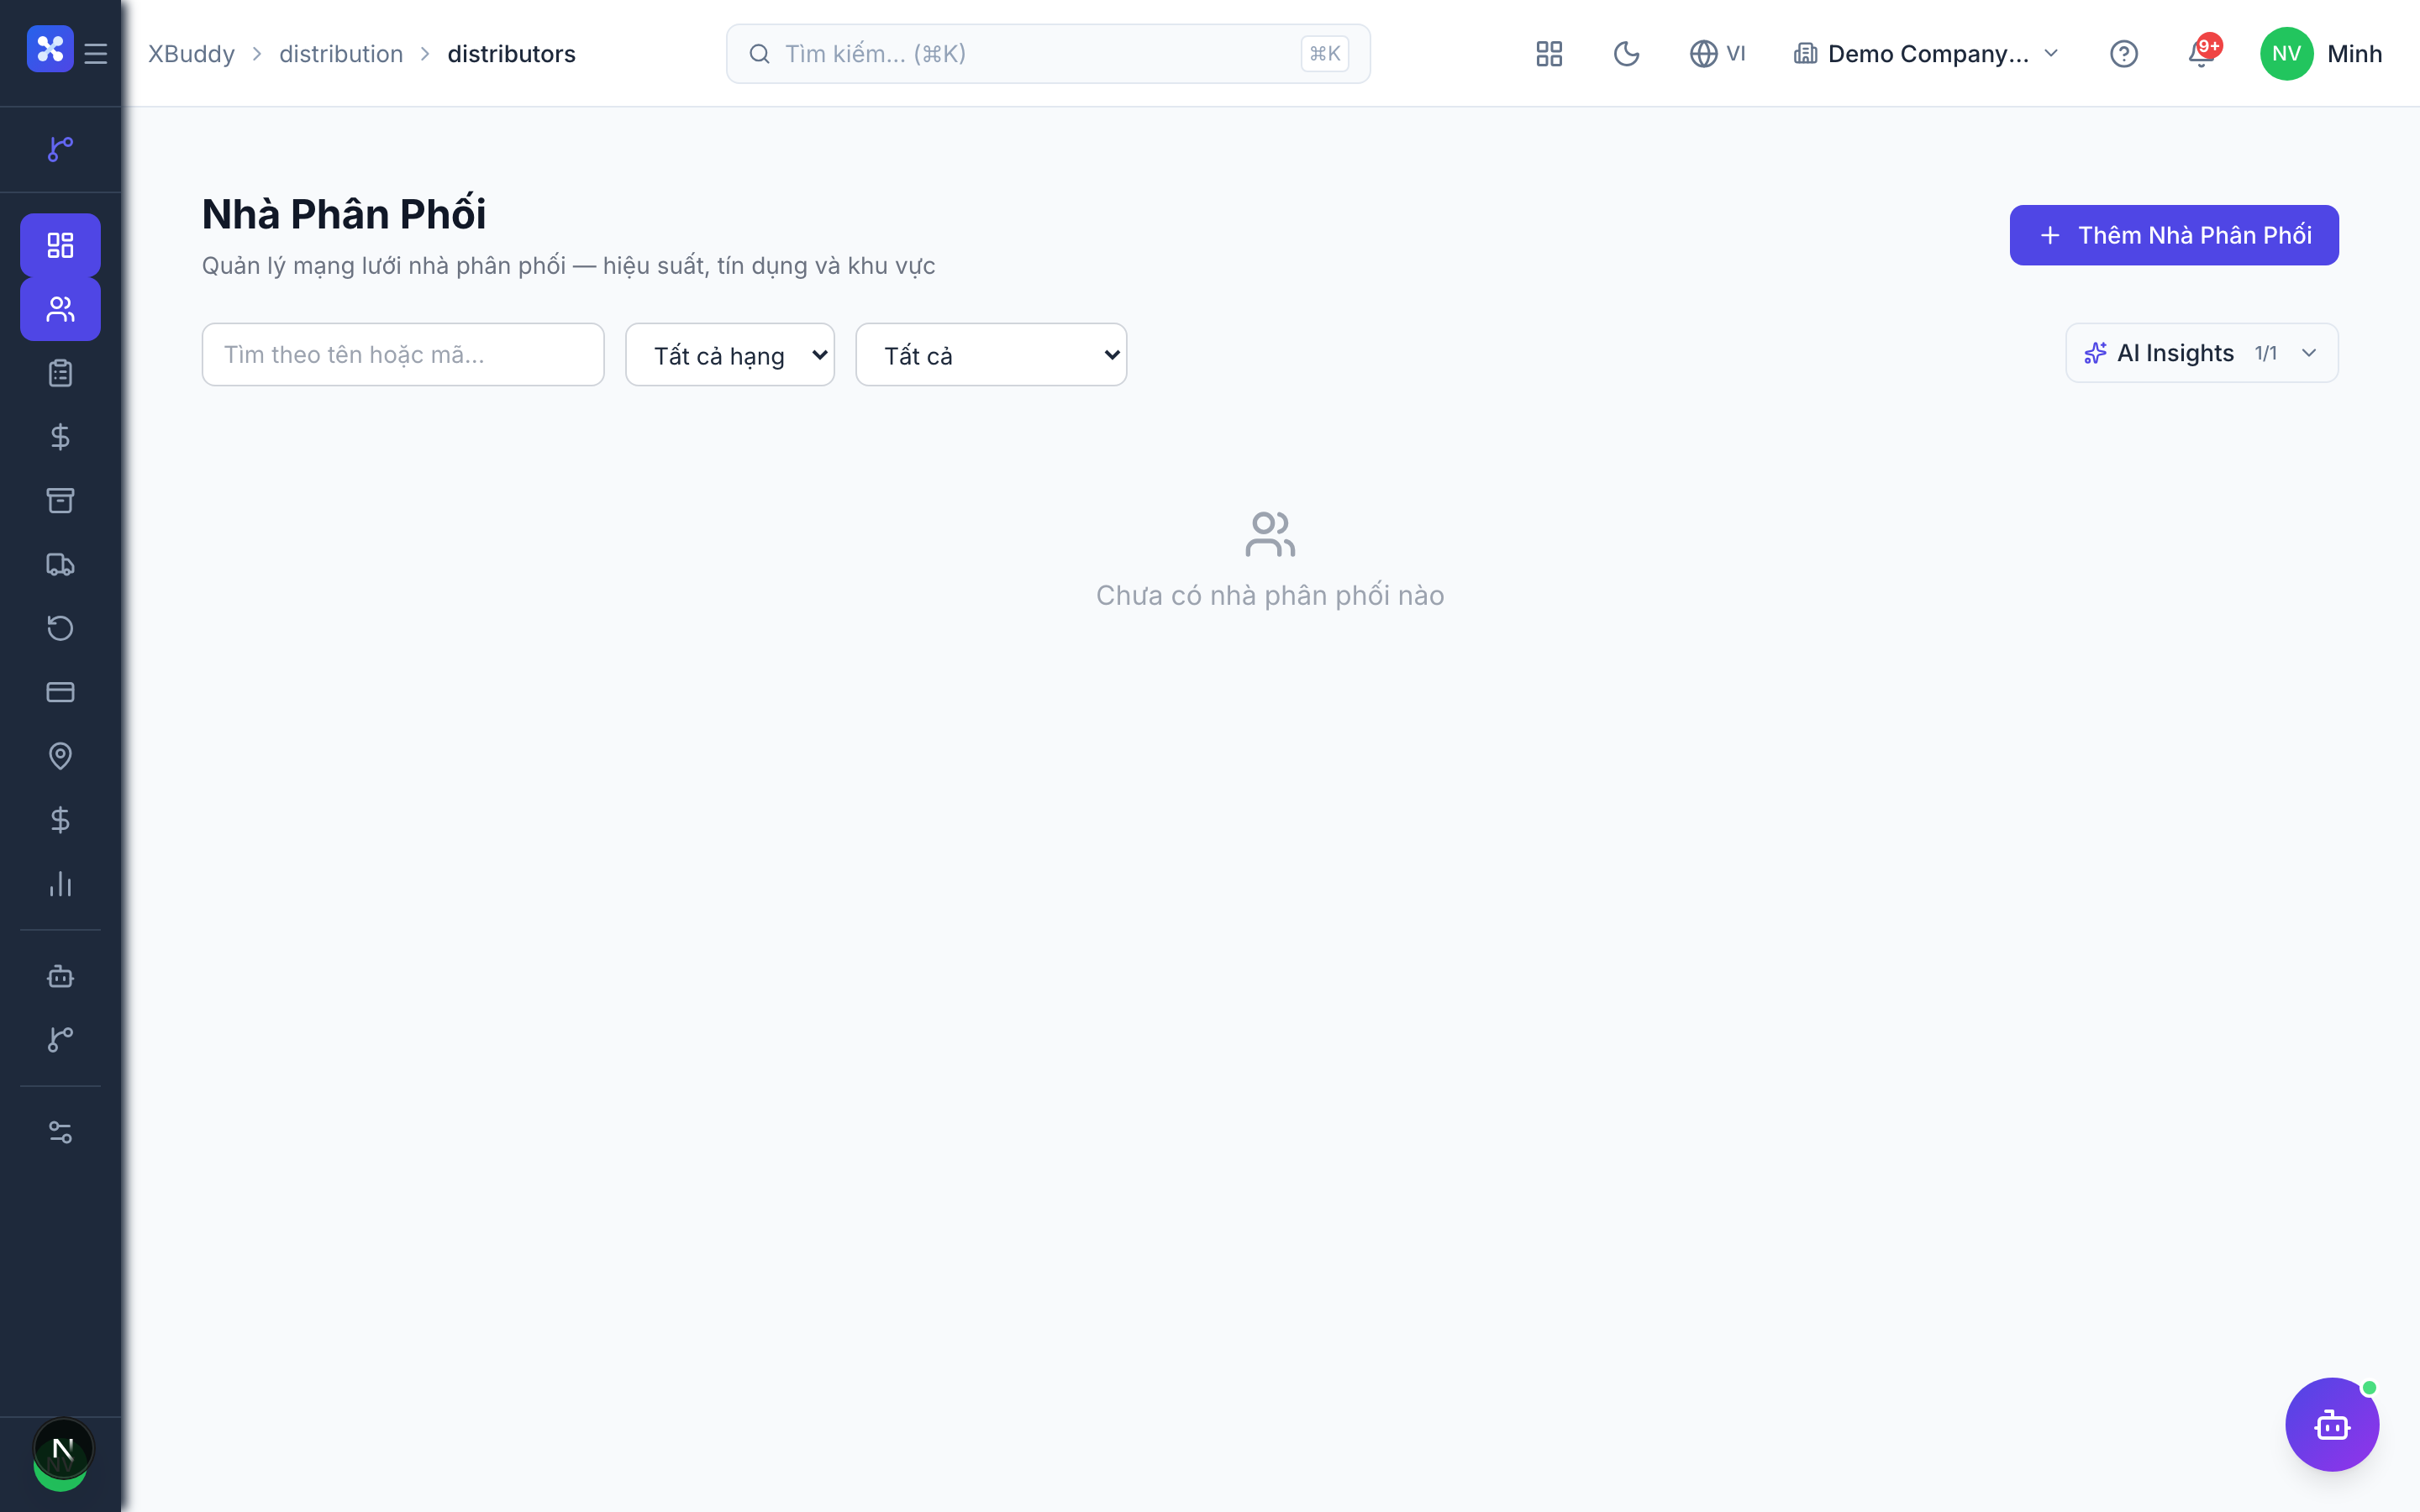
Go to Distribution → Distributors and create the account with tier, contacts, payment terms, and credit limit.
Open the distributor profile
Open a distributor to see its profile and its orders. A deleted distributor can be restored.
Assign territories
In Distribution → Territories, create sales territories and assign the reps in charge. Territories can also be restored after deletion.
Set channel terms
Set the price list, payment terms, and credit limit for each distributor. Credit limits can also be adjusted later in Distribution → Credit.
Tips & common mistakes
- The tier decides the commission rate (rates are fixed per tier), so set it correctly from the start.
- Assign every distributor to a territory, otherwise by-territory reports will not show its volume.
- Route plans are read-only in this app; you cannot create them here.
- The Orders page lists van sales sessions, not distributor orders. Do not look for distributor orders there.
- Data visibility follows your scope (own, team, or all), so a colleague may see a different list than you.